The Homesteader's Pantry: 5 Must-Have Staples You Can Grow, Make, or Preserve
Discover 5 essential staples every homesteader needs in their pantry to ensure self-sufficiency and preparedness. Learn how to stock your pantry with natural, versatile ingredients.
HOMESTEADING
Kathrine-Anne Hill
8/26/20249 min read


Affiliate Disclosure: Some of the links in this article are affiliate links, which means I may receive a small commission, at no additional cost to you, if you decide to make a purchase through one of my recommended partners. I will only recommend products and devices that I trust and believe will be beneficial to my readers.
Introduction to Homesteading and Self-Sufficiency
Homesteading, a lifestyle choice that emphasizes self-sufficiency and sustainability, has seen a resurgence in recent years. The concept, while rooted in historical practices, aligns well with modern-day pursuits of sustainable living and reduced reliance on commercial systems. A pivotal aspect of homesteading is maintaining a well-stocked pantry, equipped with essentials that can be grown, made, or preserved by the homesteader. This approach offers not only practical benefits but also fosters a profound connection to the food we consume.
A self-sufficient pantry minimizes the dependence on store-bought goods, providing a reliable source of nutrient-rich foods regardless of external circumstances. Northern climates with harsh winters or unexpected financial constraints underscore the value of a pantry filled with home-grown and homemade staples. Apart from offering food security, this strategy nurtures a mindset that prioritizes environmental stewardship and conscious consumption.
Stocking your pantry with items you have cultivated or produced ensures the quality and integrity of the food consumed by your household. When embarking on the homesteading journey, understanding what staples to prioritize can significantly enhance your self-sufficiency. From preserved fruits and vegetables to homemade dairy and bakery items, each element contributes uniquely to a balanced and sustainable diet.
This blog post delves into the 15 must-have pantry staples that are essential for any homesteader. These items cover a wide spectrum of food categories, providing diversity and comprehensive nutrition. As you explore these staples, consider how they can fit into and enhance your homesteading endeavors. The integration of these essentials not only simplifies meal preparations but also ensures a year-round supply of wholesome ingredients, laying the foundation for a sustainable and self-sufficient lifestyle.
Canned Vegetables: Freshness in a Jar
Canning vegetables is a time-honored tradition that brings the bounty of harvest into the home pantry, offering fresh flavors year-round. Understanding the types of vegetables best suited for canning is the first step in this process. Vegetables like tomatoes, beans, corn, and carrots are ideal for canning due to their high acidity and robust structure. These vegetables retain their texture and flavor well during the canning process.
The preparation phase is crucial and begins with selecting the freshest produce. Cleaning and trimming vegetables ensure that only the best parts are preserved. For certain vegetables, blanching — a quick boil followed by an ice bath — helps maintain color, texture, and nutritional value. Packing methods, whether raw or hot, vary depending on the vegetable type but always aim to fit the maximum amount of produce in the jar without compromising the safety seal.
Cooking and sealing are the next critical steps. Vegetables are typically packed into sterilized jars and covered with a liquid such as water, brine, or tomato juice. The jars are then sealed and processed in a boiling water bath or pressure canner, ensuring food safety by eliminating potential bacteria. The processing time varies by vegetable and packing method; following trusted canning guidelines is key to preventing spoilage.
Home-canned vegetables offer numerous health benefits compared to their store-bought counterparts. They are free from preservatives and artificial additives commonly found in commercial products. Additionally, home-canning allows control over the amount of salt and sugar added, making it a healthier option for those monitoring their intake.
Ensuring safety and quality throughout the canning process involves strict adherence to recommended practices. Sterilizing jars and equipment minimizes the risk of contamination, while accurate venting ensures all air is expelled, creating an airtight seal. It is also essential to store canned goods in a cool, dark place to prolong their shelf life and preserve their quality.
Overall, canning vegetables can be a rewarding endeavor, providing ready access to nutritious, flavorful produce while fostering self-sufficiency and reducing food waste. With proper techniques and attention to detail, anyone can enjoy the benefits of freshness in a jar year-round.
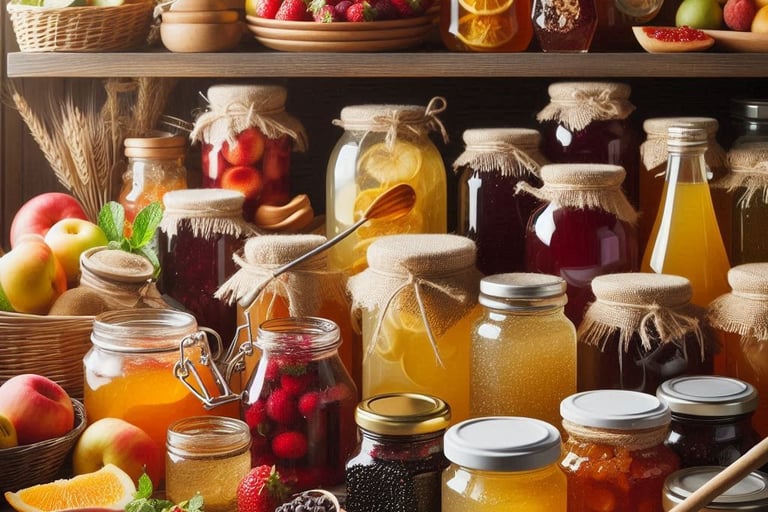
Homemade Jams: Preserving the Taste of Summer
Homemade jams epitomize the art of preserving the sweet essence of summer fruits, allowing their vibrant flavors to be savored throughout the year. The process begins with selecting ripe, high-quality fruits from your garden, such as strawberries, blueberries, and peaches, ensuring they are free from blemishes. The core utensils required for successful jam-making include a large pot, a wooden spoon, canning jars, lids, and a funnel. Additionally, precise measuring tools are vital for maintaining balance and consistency.
The technique of making homemade jams is straightforward yet meticulous. Start by washing and hulling the fruits. Depending on the recipe, crushing or chopping the fruits into small pieces is necessary. Combine the fruits with natural sweeteners like honey or agave syrup if you prefer reduced sugar content. Pectin, a natural gelling agent found in fruit skins, can be added or leveraged from the fruit itself to achieve the desired consistency.
Boiling the fruit mixture requires careful attention; it must reach a rolling boil while stirring continuously to prevent scorching. A crucial aspect is to skim off any foam that forms on the surface for a clearer, more aesthetically pleasing jam. Once the mixture achieves the right thickness — which can be tested using the cold plate method — it is ready to be transferred into sterilized jars. Seal and process the jars in a boiling water bath to ensure long-term preservation.
The application of homemade jams transcends mere toast toppings. They can be used as fillings for pastries, glazes for meats, or even as a delightful addition to yogurt and oatmeal. Utilizing homemade jams not only guarantees a richer and more authentic flavor but also offers numerous health benefits by utilizing fresh, organically grown fruits and minimizing processed sugars.
Mastering the craft of jam-making enriches your homesteading experience, ensuring that the peak flavors of summer fruits can be enjoyed year-round, whether in the form of a morning spread or an innovative culinary ingredient.
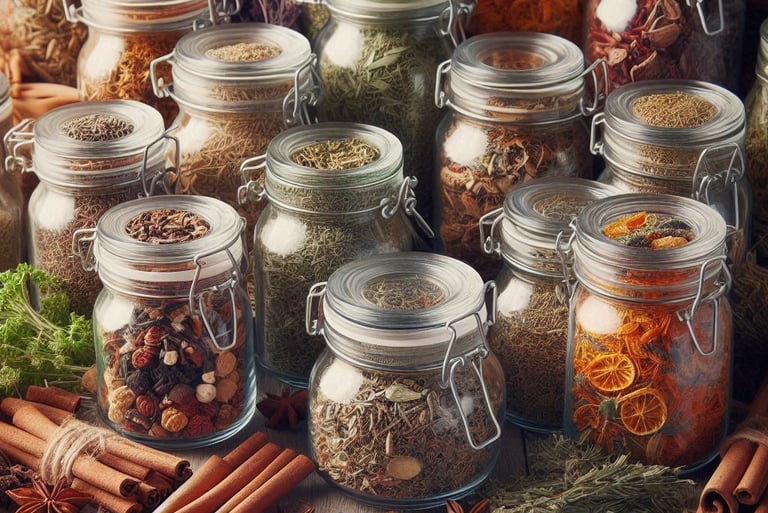
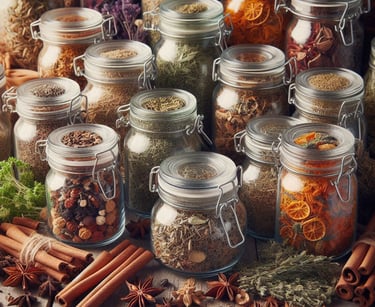
Dried Herbs: A Flavorful Staple
For homesteaders, dried herbs serve as an indispensable staple, offering both culinary and medicinal benefits. The process of drying and storing herbs ensures that their flavors and therapeutic properties are preserved for future use, making them a vital part of any well-stocked pantry. Among the herbs best suited for drying are rosemary, thyme, oregano, sage, mint, and basil. These herbs not only retain their robust flavors when dried but also offer significant medicinal advantages.
Several methods can be employed to dry herbs effectively. Air-drying is perhaps the simplest and most traditional technique. To air-dry herbs, tie small bunches together and hang them upside down in a warm, dry, and well-ventilated area away from direct sunlight. Alternatively, herbs can be dried by laying them out on a clean surface like a screen or tray, turning periodically until they are completely crisp.
In situations where time and space are constraints, oven-drying can be a practical solution. To oven-dry herbs, spread the leaves in a single layer on baking sheets and place them in an oven set to the lowest temperature, usually around 100-120°F (38-49°C). Leave the oven door slightly open to allow moisture to escape. Monitor the herbs closely, checking every 15 to 20 minutes, until they are thoroughly dried.
Proper storage is crucial to maintaining the potency and flavor of dried herbs. Once dried, store herbs in airtight containers, preferably glass jars, and keep them in a cool, dark place. Label each container with the herb's name and the date it was dried to ensure optimal freshness.
Dried herbs play an instrumental role in a homesteader's pantry. Culinarily, they add depth and complexity to dishes, enhancing the flavor profile of soups, stews, sauces, and marinades. Medicinally, dried herbs like mint can be used to brew soothing teas, while rosemary and sage have been traditionally employed for their anti-inflammatory and antimicrobial properties.
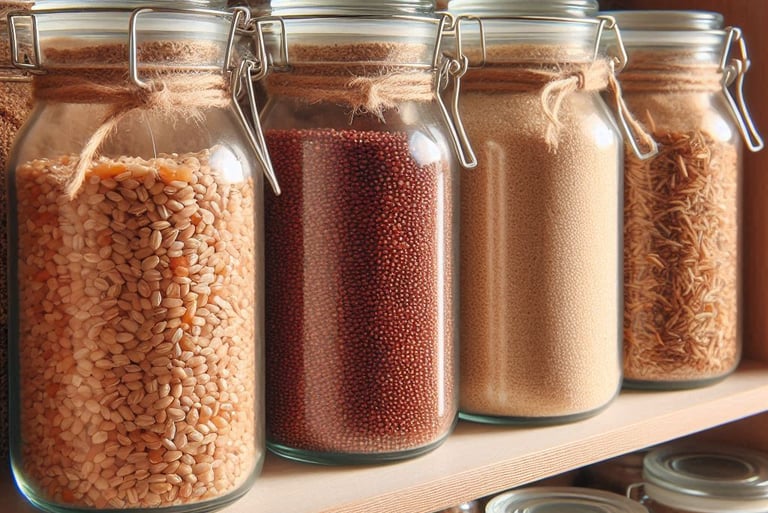
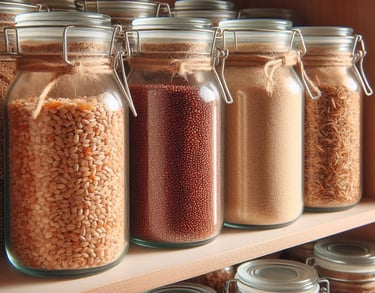
Homegrown Grains: The Backbone of Your Pantry
Cultivating homegrown grains, such as wheat, barley, and oats, can be a rewarding and sustainable way to ensure a reliable food source in your pantry. Not only do these grains offer a range of nutritional benefits, but they also open up endless baking possibilities for the homesteader. Growing grains begins with the selection of suitable varieties adapted to your climate and soil conditions. Wheat, for instance, requires well-drained soil and a sunny location to thrive. Barley and oats are relatively resilient, demanding slightly different soil considerations to flourish optimally.
The process starts with preparing the soil, which involves tilling to enhance aeration and drainage. Once the soil is ready, sow seeds at the appropriate season – typically in early spring or fall. Regular watering and weeding are essential to avoid competition for nutrients, ensuring robust growth. Harvesting grains requires careful timing; wait until the grains are golden and dry. Using a sickle or a scythe, cut the stalks close to the ground and bundle them for drying.
Post-harvest, grains must be threshed to separate the seeds from the stalks. This can be done manually by beating the bundles against a hard surface or using a mechanical thresher for larger quantities. The next step is winnowing, which involves gently tossing the threshed grain to allow the wind or a fan to blow away the lighter chaff, leaving the clean grains behind.
Proper storage is crucial to maintain the quality and longevity of your homegrown grains. Store the cleaned grains in airtight containers and keep them in a cool, dark, and dry location to prevent spoilage from moisture and pests. The nutritional advantages of homegrown grains include high levels of fiber, vitamins, and minerals absent in refined grains. Furthermore, they offer versatility in baking – from hearty bread to wholesome porridges.
To process grains at home, one might need equipment such as a grain mill for grinding wheat into flour or a flaker for rolling oats. These tools can be manual or electric, based on the volume of grain being processed. The effort invested in growing, harvesting, and processing your grains is worth the independence and health benefits they bring to your homesteader’s pantry.
To learn how to stockpile food that doesn't spoil, and so much more, I highly recommend this book, watch the video, it's pretty amazing!
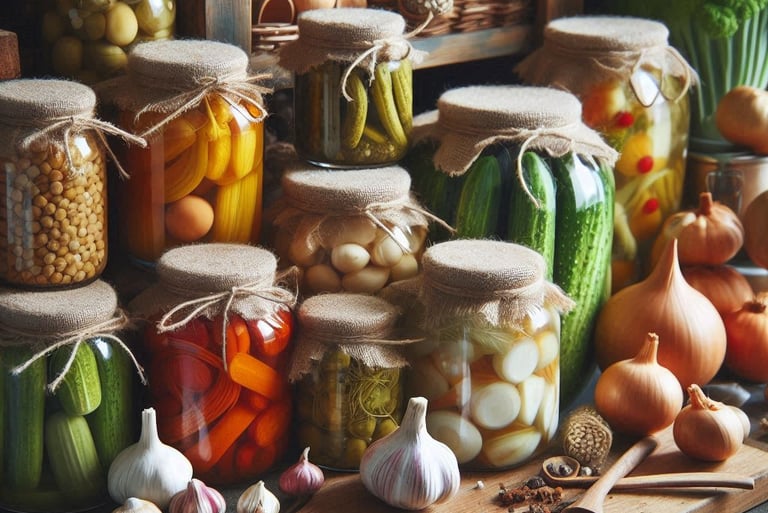
Pickling: Adding Zest to Your Staples
Pickling is a time-honored preservation technique that not only extends the shelf life of your produce but also adds a burst of flavor to your pantry staples. This method involves preserving vegetables and fruits by immersing them in a solution of either vinegar or saltwater brine, encouraging fermentation. The art of pickling can be approached through two primary methods: fermentation and vinegar pickling.
Fermentation, a natural pickling process, relies on salt and beneficial bacteria to break down sugars in the produce, leading to the development of lactic acid. This method is particularly suited for hardy vegetables such as cucumbers, cabbage, and carrots. Conversely, vinegar pickling involves submerging produce in a vinegar-based solution, a technique especially effective for softer fruits and vegetables like peaches, beets, and bell peppers.
The foundation of successful pickling starts with creating a brine. For a vinegar-based brine, combine equal parts vinegar and water, supplemented with salt and sugar to taste. In contrast, a typical fermentation brine contains just water and salt. Ensuring your brine is potent enough to inhibit harmful bacteria is crucial – a common guideline for vinegar brine is a minimum 5% acidity level for safety.
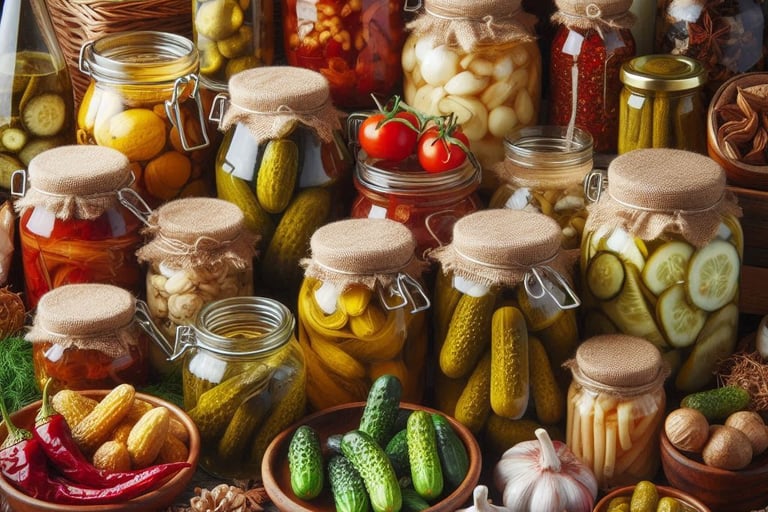
Spices and seasonings play a vital role in enhancing the flavor profile of your pickles. Common spices include dill, garlic, mustard seeds, peppercorns, and bay leaves, though the options are virtually limitless. Experimenting with spice combinations can yield diverse, flavorful results that cater to personal taste preferences.
Proper storage is essential for extending the shelf-life of your pickled products. Vinegar pickles can be stored in sterilized jars and kept in a cool, dark place for several months. Fermented pickles, however, should be refrigerated to slow down the fermentation process once they reach the desired taste and texture.
Beyond mere preservation, pickling offers noteworthy nutritional benefits. Fermented pickles, in particular, are rich in probiotics, promoting gut health and enhancing digestion. In culinary applications, pickles serve as versatile condiments, adding a tangy zest to salads, sandwiches, and charcuterie boards, enriching your culinary repertoire.
Related Posts:
Creating Your Own Herbal First-Aid Kit: Simple Recipes for Common Ailments
Rainwater Harvesting 101: How to Collect and Use Rainwater on Your Homestead